 Ingredients:
- 1 cup cocoa powder
- 2 cups boiling water
- 1 cup butter, softened
- 2-1/4 cups sugar
- 4 eggs, room temperature
- 1-1/2 teaspoons vanilla extract
- 2-3/4 cups all-purpose flour
- 2 teaspoons baking soda
- 1/2 teaspoon baking powder
- 1/2 teaspoon salt
For the ganache, you’ll need:
- 10 ounces semisweet chocolate, chopped
- 1 cup heavy whipping cream
- 2 tablespoons sugar
And for the frosting, you’ll need:
- 1 cup butter, softened
- 4 cups confectioners’ sugar
- 1/2 cup cocoa powder
- 1/4 cup milk
- 2 teaspoons vanilla
- 3/4 cups sliced almonds, toasted, to garnish
Directions:
Step 1: Make the batter
The first step to making this lush cake batter is to bloom the cocoa. This simply means mixing together the cocoa powder with hot water before adding the mixture to the batter. This step develops the rich chocolate flavor. After all, if you’re going to bake an over-the-top chocolate cake, you really want as much cocoa flavor as possible.
Once the cocoa is bloomed, move on to a fairly standard cake baking procedure. Add the cream and sugar to a big mixing bowl and beat until light and fluffy—about 5 minutes. Then add the eggs one at a time, allowing each to incorporate fully before adding the next. Beating these ingredients extremely well will make for the fluffiest cake.
Next, add the vanilla. Be sure to use a high-quality extract (not vanilla flavoring) here for the best possible flavor.
In another bowl, sift together the dry ingredients—flour, baking soda, baking powder and salt. Sifting aerates the flour and removes any lumps before it gets into the batter. It’s one of those fussy steps that you shouldn’t skip in baking. Also, consider weighing your ingredients. Flour, in particular, is easy to mismeasure. Here’s how to do it properly.
Editor’s tip: Bookmark this chart with the weights of common baking ingredients.You’ll be happy to have it on hand.
Next it’s time to pull the batter together. Alternately add the dry ingredients and bloomed cocoa to the creamed mixture—starting and ending with the dry ingredients. Beat until just combined. Overbeating the mix here can lead to a chewy or tough cake. The cake batter should look smooth, rich and oh-so-tempting.
Step 2: Bake the layers
To bake, first prep three 9-inch cake pans. You can either grease the pans or line them with parchment. (Here’s how!) Then divide the batter evenly between the three pans. The easiest way to do this is by weight; however, you can also divide your batter fairly evenly by distributing the batter cup by cup (or quarter cup once you’ve neared the bottom of your bowl) between the three pans.
Then pop the pans onto your oven’s middle rack and bake at 350ºF for 25-30 minutes or until a toothpick comes out clean—a great way to judge doneness for this kind of cake. Cool the cakes in their pans for 10 minutes, then remove from the pans and allow them to cool completely on a wire rack.
Editor’s tip: Only have two cake pans? No worries. Simply use a bowl in place of the third cake pan and set it aside while the first two layers bake. Once a cake pan is free, grease and line it again, fill it with the extra batter, and bake according to the instructions.
Step 3: Make the American buttercream frosting
Classic American buttercream is easy enough for beginners, but it’s a go-to for advanced bakers, as well. For this recipe, buttercream serves as a filling for one layer and the frosting for the whole cake.
To make the buttercream, beat butter in a mixer until fluffy, then add confectioners’ sugar, milk, cocoa and vanilla extract until fluffy and smooth. If you feel the frosting is too thick, add a splash of milk, a tablespoon at a time. If it’s too thin, add more confectioners’ sugar.
You can read our complete guide to American buttercream right here.
Step 4: Make the chocolate ganache
This special-occasion bake doesn’t stop at cake and frosting. It calls for ganache, too. Ganache may sound intimidating since it’s a bit of a fancier finish, but making it is pretty simple.
First, place the chopped chocolate in a medium-size bowl—the smaller you chop the chocolate, the easier the melting process will be. In a saucepan, heat the cream and sugar to a boil. Then carefully pour the cream over the chocolate and whisk until nice and smooth. For a minute it might look like the ganache will never come together, but just keep whisking!
Be sure to let the ganache cool a bit before using it to fill and top your cake.
Step 5: Assemble and frost the chocolate layer cake
Once the cake is cooled and your buttercream and ganache are ready, it’s time to start building. First, check out your cake layers. If they look flat and even, you can start frosting right away. If they are fairly domed, level them off with a serrated knife for neat, sharp layers. Be sure to check out our complete guide on how to level a cake without a leveler.
To frost, smear a dab of frosting on your turntable or cake plate and center the first layer. The frosting will help keep the cake in place. Then place either a sheet of parchment paper or a cake board smack on top and begin assembling your layers.
Next, using an offset spatula, spread a layer of buttercream onto the cake. With the first layer finished, stack on a second layer of cake. Grab the ganache—it should be cool and spreadable—and smear about half onto this layer of cake. Then top the ganache with half of the sliced almonds and stack with the final layer.
Editor’s tip: While you can certainly use parchment, a cake board makes it easier to transport your bake between surfaces. It also adds a professional touch when serving.
With all three layers assembled, start to frost the exterior of the cake. Begin with the top and move on to the sides. A long offset spatula and a cake turntable really come in handy here—along with our other essential cake baking gear.
Editor’s tip: Need a primer on frosting layer cakes? Check out our guide.
Step 6: Add an over-the-top decoration
With a cake as decadent as this one, you can’t stop with a basic buttercream finish. That’s where the remainder of the ganache comes in.
At this stage, you want the ganache to be the consistency of a thick hot fudge—thin enough to drip slowly off a spoon. If you want to give it a test run, pour a bit of ganache over an overturned mug or bowl and see how it flows down the side. If the ganache is too thin and pools at the bottom of your dish, let it cool more. If it’s too thick, pop it in the microwave for 10 seconds at a time until it reaches the right consistency.
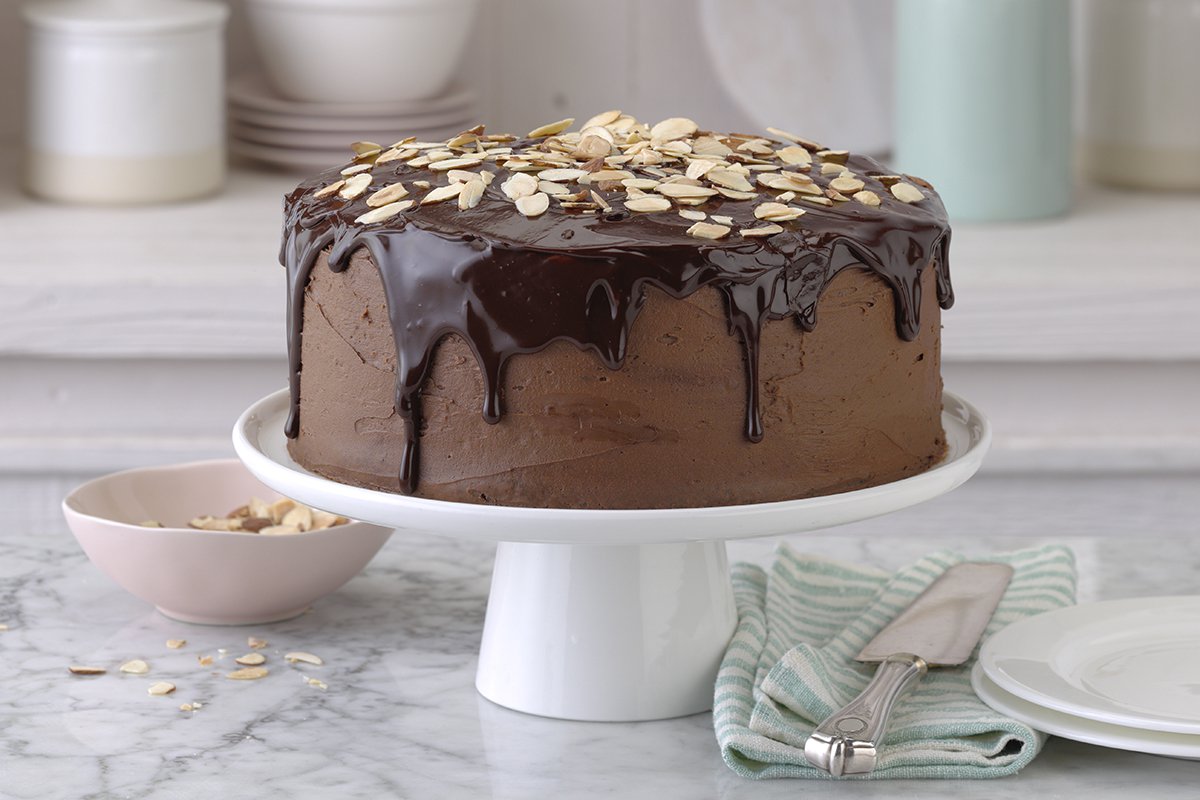
Slowly pour the ganache in the center of the cake top. Then, using an offset spatula, spread it outward to the very edge. It should drip down the sides beautifully. This drip makes the cake look even more tempting.
To finish the cake, sprinkle the remainder of the toasted almonds on top. Combined with the glossy ganache and rich buttercream, they make for a showstopping presentation.
Step 7: Revel in your perfect chocolate layer cake
When finished, this cake is absolutely ready to be the centerpiece of any celebration. When you slice into it, you reveal bits of almond, silky ganache and creamy frosting. This cake is exceptionally decadent—just the thing you want at your next big party.