Archive for August, 2019

Aug 31

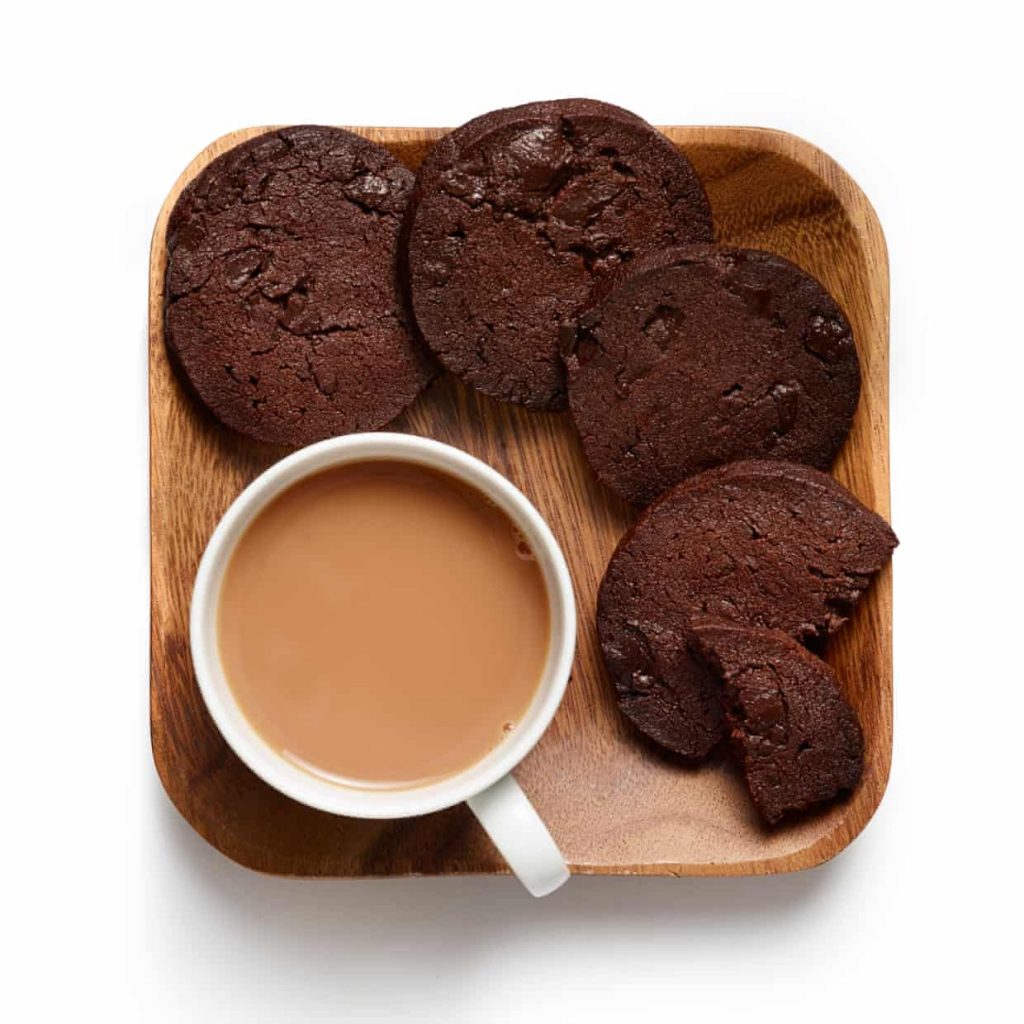
Perfect chocolate biscuits

Prep 15 min, plus chilling
Cook 15 min
Makes About 20

100g dark chocolate
150g butter, at room temperature
130g caster sugar
70g golden syrup
215g plain flour 
45g cocoa powder
½ tsp fine salt

Start by roughly chopping the chocolate into shards of the kind of size you’d like to find in a biscuit.

Put the butter in a food mixer and beat briefly to soften, then add the sugar and syrup, and beat on a medium speed for about five minutes, scraping down the bowl as necessary, until fluffy.

Meanwhile, sift together the flour, cocoa powder and salt. With the mixer running on a low speed, add the dry ingredients and continue mixing until everything comes together into a dough. Which it will, don’t worry.

Roll into a sausage shape about 5cm in diameter. Wrap well and chill for at least 30 minutes, and up to 10 days.

Heat the oven to 180C (160C fan)/350F/gas 4 and line two baking trays with greaseproof paper. Cut the sausage into thin rounds and arrange, fairly well spaced out, on the trays. Bake for 25 minutes (for crisp biscuits; or 15 for squidgy, or 20 for somewhere in between), then leave to cool on the baking tray.


https://www.theguardian.com/food/2019/may/29/perfect-chocolate-biscuits-recipe-felicity-cloake

0
comments

Aug 31

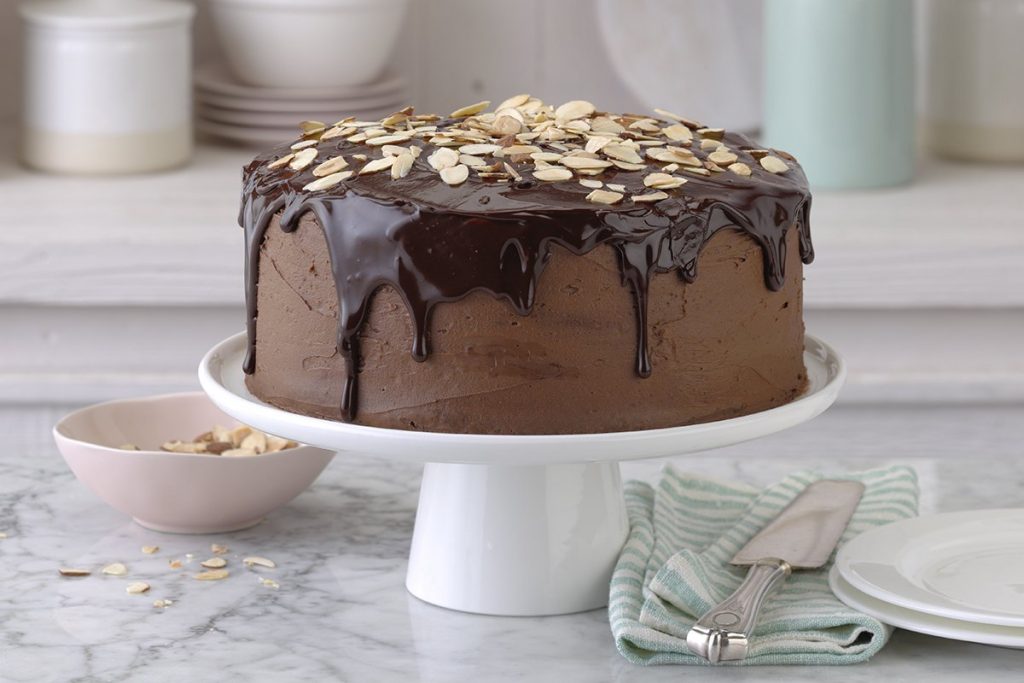
Chocolate Layer Cake

Ingredients:

  • 1 cup cocoa powder
  • 2 cups boiling water
  • 1 cup butter, softened
  • 2-1/4 cups sugar
  • 4 eggs, room temperature
  • 1-1/2 teaspoons vanilla extract
  • 2-3/4 cups all-purpose flour
  • 2 teaspoons baking soda
  • 1/2 teaspoon baking powder
  • 1/2 teaspoon salt

For the ganache, you’ll need:

  • 10 ounces semisweet chocolate, chopped
  • 1 cup heavy whipping cream
  • 2 tablespoons sugar

And for the frosting, you’ll need:

  • 1 cup butter, softened
  • 4 cups confectioners’ sugar
  • 1/2 cup cocoa powder
  • 1/4 cup milk
  • 2 teaspoons vanilla
  • 3/4 cups sliced almonds, toasted, to garnish

Directions:

Step 1: Make the batter

The first step to making this lush cake batter is to bloom the cocoa. This simply means mixing together the cocoa powder with hot water before adding the mixture to the batter. This step develops the rich chocolate flavor. After all, if you’re going to bake an over-the-top chocolate cake, you really want as much cocoa flavor as possible.

Once the cocoa is bloomed, move on to a fairly standard cake baking procedure. Add the cream and sugar to a big mixing bowl and beat until light and fluffy—about 5 minutes. Then add the eggs one at a time, allowing each to incorporate fully before adding the next. Beating these ingredients extremely well will make for the fluffiest cake.

Next, add the vanilla. Be sure to use a high-quality extract (not vanilla flavoring) here for the best possible flavor.

In another bowl, sift together the dry ingredients—flour, baking soda, baking powder and salt. Sifting aerates the flour and removes any lumps before it gets into the batter. It’s one of those fussy steps that you shouldn’t skip in baking. Also, consider weighing your ingredients. Flour, in particular, is easy to mismeasure. Here’s how to do it properly.

Editor’s tip: Bookmark this chart with the weights of common baking ingredients.You’ll be happy to have it on hand.

Next it’s time to pull the batter together. Alternately add the dry ingredients and bloomed cocoa to the creamed mixture—starting and ending with the dry ingredients. Beat until just combined. Overbeating the mix here can lead to a chewy or tough cake. The cake batter should look smooth, rich and oh-so-tempting.

Step 2: Bake the layers


To bake, first prep three 9-inch cake pans. You can either grease the pans or line them with parchment. (Here’s how!) Then divide the batter evenly between the three pans. The easiest way to do this is by weight; however, you can also divide your batter fairly evenly by distributing the batter cup by cup (or quarter cup once you’ve neared the bottom of your bowl) between the three pans.

Then pop the pans onto your oven’s middle rack and bake at 350ºF for 25-30 minutes or until a toothpick comes out clean—a great way to judge doneness for this kind of cake. Cool the cakes in their pans for 10 minutes, then remove from the pans and allow them to cool completely on a wire rack.

Editor’s tip: Only have two cake pans? No worries. Simply use a bowl in place of the third cake pan and set it aside while the first two layers bake. Once a cake pan is free, grease and line it again, fill it with the extra batter, and bake according to the instructions.

Step 3: Make the American buttercream frosting

Classic American buttercream is easy enough for beginners, but it’s a go-to for advanced bakers, as well. For this recipe, buttercream serves as a filling for one layer and the frosting for the whole cake.

To make the buttercream, beat butter in a mixer until fluffy, then add confectioners’ sugar, milk, cocoa and vanilla extract until fluffy and smooth. If you feel the frosting is too thick, add a splash of milk, a tablespoon at a time. If it’s too thin, add more confectioners’ sugar.

You can read our complete guide to American buttercream right here.

Step 4: Make the chocolate ganache

This special-occasion bake doesn’t stop at cake and frosting. It calls for ganache, too. Ganache may sound intimidating since it’s a bit of a fancier finish, but making it is pretty simple.

First, place the chopped chocolate in a medium-size bowl—the smaller you chop the chocolate, the easier the melting process will be. In a saucepan, heat the cream and sugar to a boil. Then carefully pour the cream over the chocolate and whisk until nice and smooth. For a minute it might look like the ganache will never come together, but just keep whisking!

Be sure to let the ganache cool a bit before using it to fill and top your cake.

Step 5: Assemble and frost the chocolate layer cake

Once the cake is cooled and your buttercream and ganache are ready, it’s time to start building. First, check out your cake layers. If they look flat and even, you can start frosting right away. If they are fairly domed, level them off with a serrated knife for neat, sharp layers. Be sure to check out our complete guide on how to level a cake without a leveler.

To frost, smear a dab of frosting on your turntable or cake plate and center the first layer. The frosting will help keep the cake in place. Then place either a sheet of parchment paper or a cake board smack on top and begin assembling your layers.

Next, using an offset spatula, spread a layer of buttercream onto the cake. With the first layer finished, stack on a second layer of cake. Grab the ganache—it should be cool and spreadable—and smear about half onto this layer of cake. Then top the ganache with half of the sliced almonds and stack with the final layer.

Editor’s tip: While you can certainly use parchment, a cake board makes it easier to transport your bake between surfaces. It also adds a professional touch when serving.

With all three layers assembled, start to frost the exterior of the cake. Begin with the top and move on to the sides. A long offset spatula and a cake turntable really come in handy here—along with our other essential cake baking gear.

Editor’s tip: Need a primer on frosting layer cakes? Check out our guide.

Step 6: Add an over-the-top decoration

With a cake as decadent as this one, you can’t stop with a basic buttercream finish. That’s where the remainder of the ganache comes in.

At this stage, you want the ganache to be the consistency of a thick hot fudge—thin enough to drip slowly off a spoon. If you want to give it a test run, pour a bit of ganache over an overturned mug or bowl and see how it flows down the side. If the ganache is too thin and pools at the bottom of your dish, let it cool more. If it’s too thick, pop it in the microwave for 10 seconds at a time until it reaches the right consistency.

Slowly pour the ganache in the center of the cake top. Then, using an offset spatula, spread it outward to the very edge. It should drip down the sides beautifully. This drip makes the cake look even more tempting.

To finish the cake, sprinkle the remainder of the toasted almonds on top. Combined with the glossy ganache and rich buttercream, they make for a showstopping presentation.

Step 7: Revel in your perfect chocolate layer cake

When finished, this cake is absolutely ready to be the centerpiece of any celebration. When you slice into it, you reveal bits of almond, silky ganache and creamy frosting. This cake is exceptionally decadent—just the thing you want at your next big party.

How to Bake Chocolate Layer Cake from Scratch
0
comments

Aug 31

Vegan Chocolate Milkshake

Ingredients
  • ripe medium or large bananas, peeled, chopped into pieces, and frozen
  • 2 tablespoons unsweetened cocoa powder
  • pitted medjool dates
  • 1/4 cup almond butter
  • 1/2 cups almond milk (soy or hemp milk will work well, too)
Directions
  1. Blend all ingredients till smooth, adding a little more almond milk as needed. Serve.


https://food52.com/recipes/30128-vegan-chocolate-milkshake

0
comments

Aug 31

Broccoli & Sweet Potato Soup

Ingredients

  • 1 tbsp olive oil
  • 1 onion, diced
  • 2 garlic cloves, crushed
  • 2–3 sweet potatoes (about 550g), peeled and cut into 2cm chunks
  • 750ml Gold Free-range Chicken or Gold Australian Vegetable Stock
  • 200g broccoli

Method

1. In a large saucepan, heat the oil and gently cook the onion for 5–7 minutes, until softened. Add the garlic and cook for 2–3 more minutes, add the sweet potatoes and cook for a few more minutes, then add the stock. Bring to the boil and simmer for 15 minutes, or until the sweet potato is tender.

2. Meanwhile, steam the broccoli for 3–5 minutes. Blend the sweet potato mixture and the broccoli in a food processor. Reheat to serve, then stir in the 2tsp harissa.


https://www.woolworths.com.au/shop/recipedetail/3747/jamie-s-broccoli-sweet-potato-soup

0
comments

Aug 31

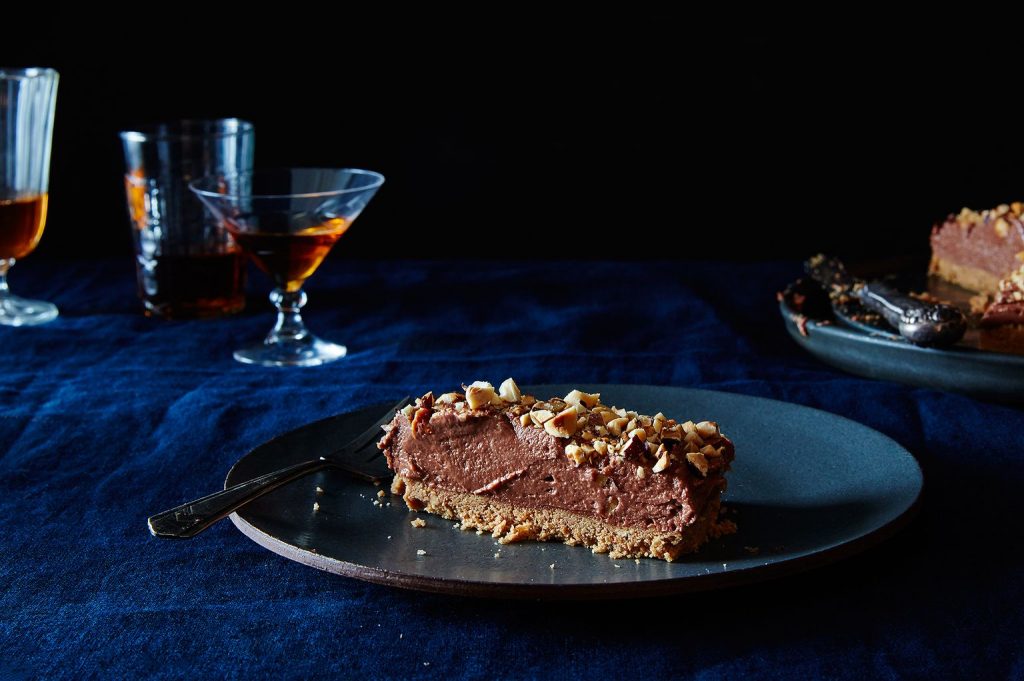
No-Bake Nutella Cheesecake

SERVES: 8-12

Ingredients
  • 250 grams digestive biscuits (one 8.8-ounce package), or substitute graham crackers or chocolate wafer cookies
  • 75 grams (5 tablespoons plus 1 teaspoon) soft unsalted butter
  • 400 grams (one 371-gram jar is fine) Nutella, at room temperature, divided
  • 100 grams (2/3 cup) hazelnuts, well-toasted and chopped (see note), divided
  • 500 grams (two 8-ounce packages is fine) cream cheese, at room temperature
  • 60 grams (1/2 cup) confectioners’ sugar, sifted


Directions
  1. Break the digestives into the bowl of a processor, add the butter and a 15-milliliter tablespoon of Nutella, and blitz until it starts to clump. Add 25 grams/3 tablespoons of the hazelnuts and continue to pulse until you have a damp, sandy mixture.
  2. Tip into a 23-centimeter/9-inch round springform and press into the base either using your hands or the back of a spoon. Place in the fridge to chill.
  3. Beat the cream cheese and confectioners’ sugar until smooth and then add the remaining Nutella to the cream cheese mixture, and continue beating until combined.
  4. Take the springform out of the fridge and carefully smooth the Nutella mixture over the base. Scatter the remaining chopped hazelnuts on top to cover and place the tin in the fridge for at least four hours or overnight. Serve straight from the fridge for best results.
  5. Editor’s note: I like to toast nuts on a rimmed baking sheet at 325° F for 15 to 20 minutes, until they are golden through the middle. To keep this truly no-bake, you can also toast the nuts in a dry pan on the stovetop over medium low, tossing occasionally. To get any loose skins off, leave them to cool and steam a bit wrapped in a clean kitchen towel for 10 minutes, then rub off as much skin as you can before chopping.

https://food52.com/recipes/39622-nigella-lawson-s-no-bake-nutella-cheesecake

0
comments

Aug 31

Nutella Cheesecake Dip

Servings: 12
Prep Time: 15 minutes

Ingredients

  • 1 cup heavy cream
  • 1 (8 oz) pkg cream cheese,softened slightly
  • 3 Tbsp powdered sugar
  • 3/4 cup Nutella

Instructions

  1. In a mixing bowl, using an electric hand mixer, whip heavy cream until stiff peaks form.
  2. In a separate mixing bowl, whip cream cheese and powdered sugar until smooth, about 1 minute. Add Nutella and blend until well combined.

  3. Add half of the whipped cream and gently fold mixture until nearly blended then add remaining whipped cream and gently fold mixture until well blended.
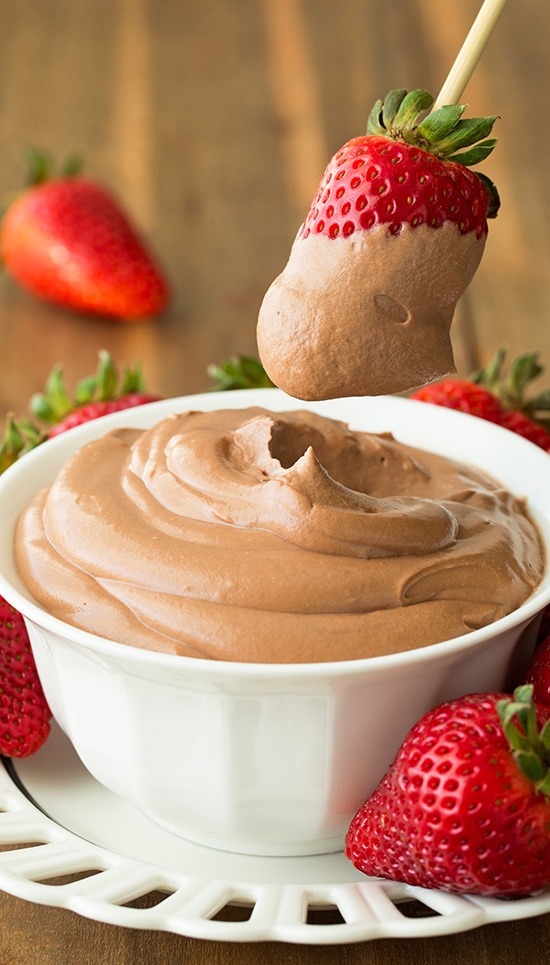
  4. Serve with strawberries or graham crackers. Store in refrigerator in an airtight container.

Four Ingredient Nutella Cheesecake Dip

0
comments

Aug 31

Chocolate fondants

Serves 4

  • Butter, sugar and flour to prepare the ramekins
  • 3 eggs
  • 3oz/85g sugar
  • A few drops vanilla extract
  • 5oz/140g dark chocolate, melted
  • 1 tbsp plain flour

Heat the oven to 200C/400F/gas mark 6. Butter four ovenproof ramekins or teacups. Dust with caster sugar, then flour.

Beat the eggs, sugar and vanilla extract together until pale and frothy. Stir in the melted chocolate. Sift over the flour and fold it in.

Divide between the cups or moulds and place on a baking sheet. Bake for about 10–12 minutes, until the puddings are risen and dry to touch. Unmould on to plates (loosen the sides with a sharp knife if necessary) and serve straight away.

Good Accompaniments:

  • Very cold double cream
  • Vanilla ice cream.
  • Mint ice cream.
  • Raspberry coulis.
  • Chopped shelled pistachios.

Good things to add

  • A dash of brandy or rum.
  • A shot of espresso.
  • Grated rind of an orange.
  • A handful of frozen raspberries.
  • A finely chopped chilli – the heat cuts the richness.
  • Dark brown sugar instead of white for a treacle flavour.

Best cooking chocolates

  • Valrhona Manjari The gourmet’s favourite; about £4.60 for 200g from Sainsbury’s and Waitrose.
  • Chocolate Society Cooking Chocolate From Sainsbury’s (£5.29 for 300g) and Waitrose (£2.99 for 125g of flakes).
  • Green & Black’s Cooking Chocolate This organic chocolate is also sold at Sainbury’s and Waitrose (£1.99 for 150g).

Best bars

  • Waitrose Continental Chocolate A bargain at 79p for 100g.
  • El Rey Chocolate From Venezuela; £2.35 for 100g; www.chocolatetradingco.com.
  • Lindt Either the bitter 85 per cent cocoa solids or the silkier 70 per cent version; from £1.09.
  • Cotons Organic Chocolate Made in Devon, with a soft, rich flavour; £1.29 at independent retailers.


Can prepare a couple of hours ahead and bake them to order, or bake them ahead and reheat them in the microwave. They freeze well unbaked: just give them an extra six minutes or so in the oven.

Bake them in well-greased ramekins or ovenproof teacups. Dusting with sugar and then flour makes a nice crust, and helps ensure the pudding turns out whole.

Good-quality chocolate is crucial; look for 50 per cent cocoa solids as a minimum. If you want even more sauce, make a ganache with 4oz/110g melted chocolate and 4fl oz/100ml double cream, mixed together and allowed to cool. Roll into truffle-sized balls. Let the puddings bake for four minutes, then open the oven door and drop a ball on to the middle of each one. Close the door quickly and finish baking.

Alternative to ganache:

  • A scoop of good-quality chocolate sauce, such as Charbonnel et Walker.
  • A teaspoonful of dulce de leche toffee sauce (look for the Merchant Gourmet brand).
  • A few white chocolate chips.
  • A chocolate truffle.

https://www.telegraph.co.uk/foodanddrink/recipes/3316127/Kitchen-classics-chocolate-fondants.html

0
comments

Aug 31

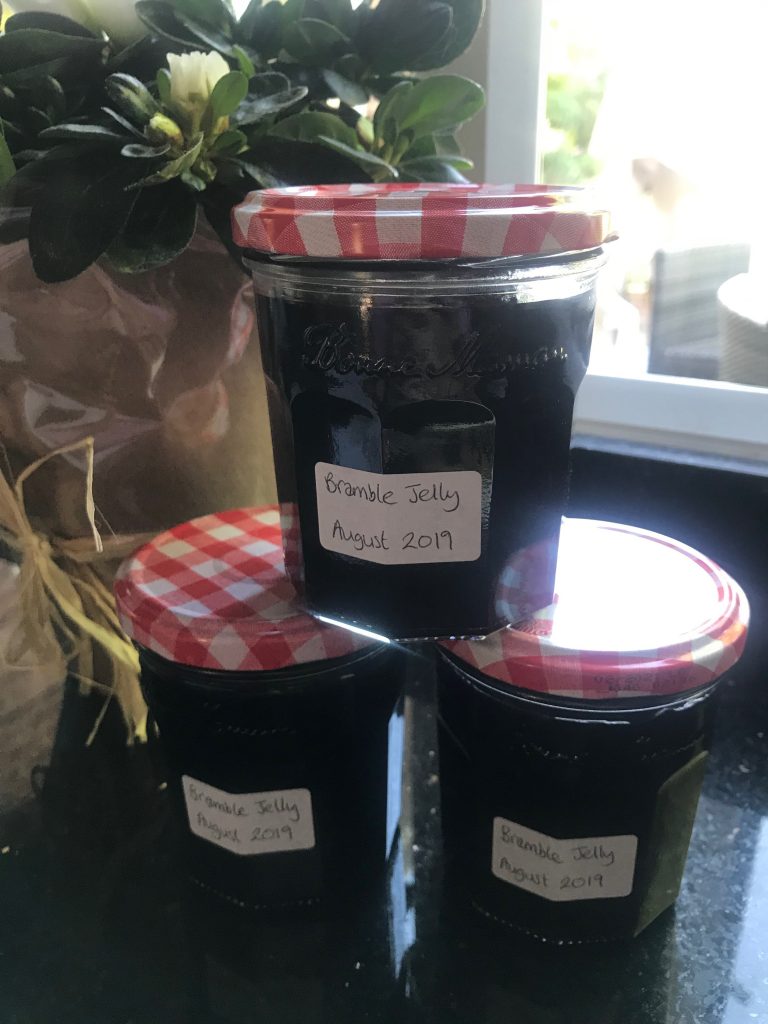
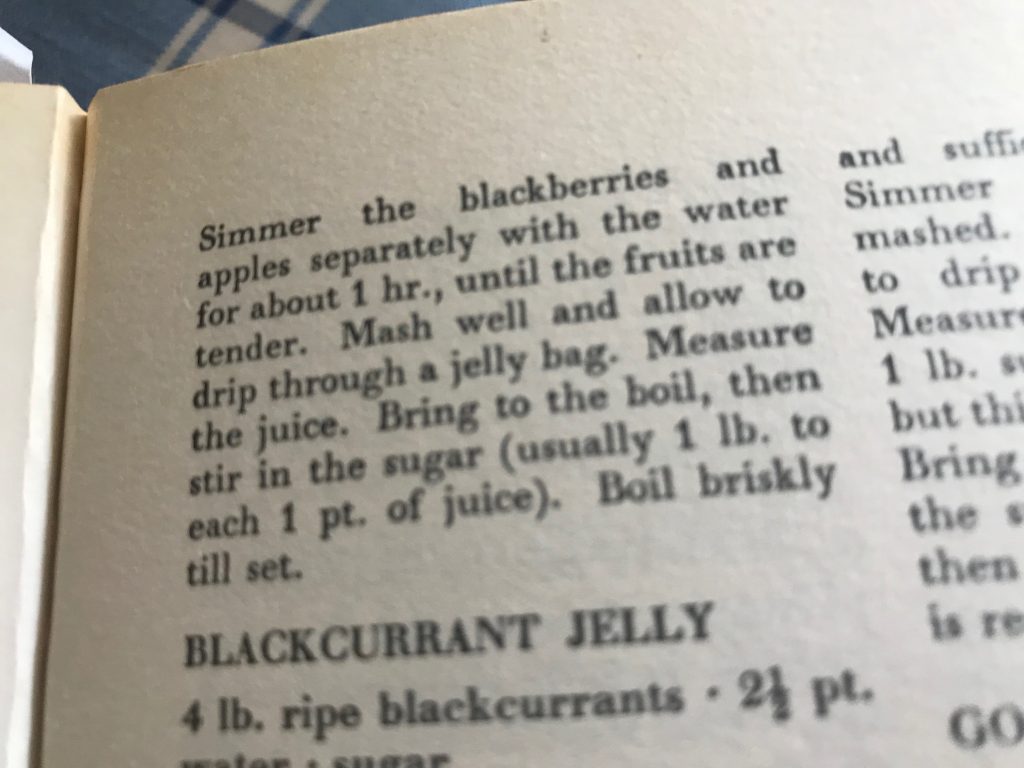
Bramble Jelly

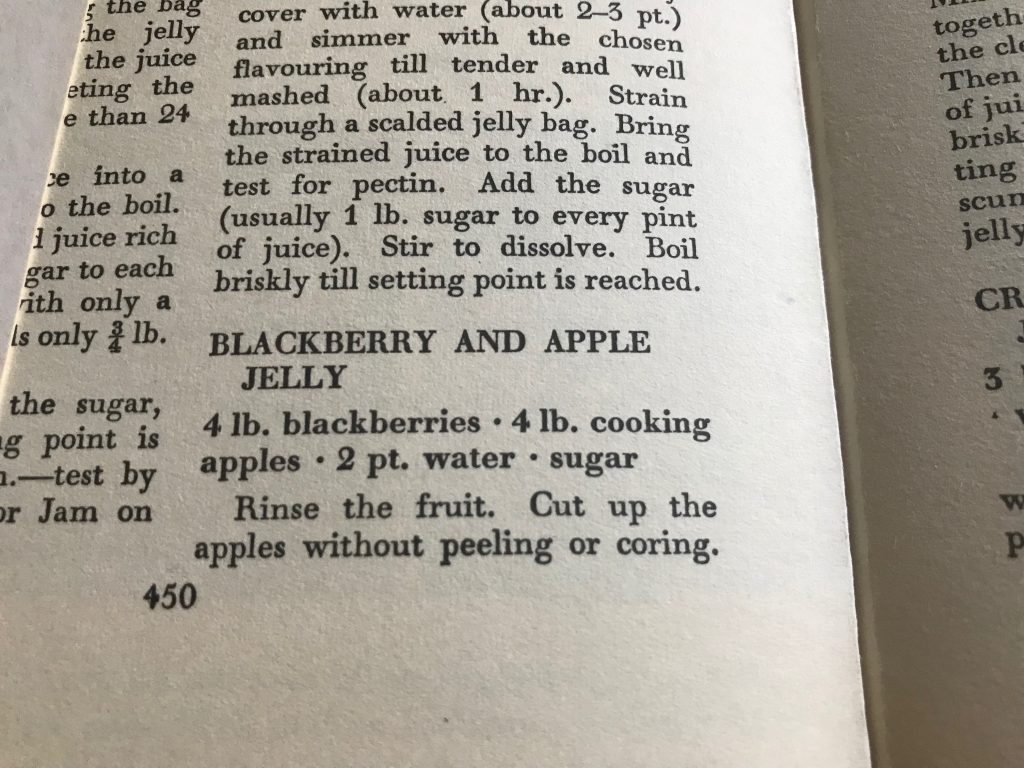
Recipe from Rosie (Mrs Beeton- All About Cookery)

4lb blackberries
4lb cooking apples
2 pints water (1 pint for blackberries, 1 pint for apples)
Sugar
– Use 1/2 quantities!!
Rinse then chop apples (don’t peel or core)
Stew for around 1 hour then pour into muslin and allow to drip through, then squeeze.
Can place muslin in sieve.
Keep juice!
Same for blackberries, – rinse then stew for around 1 hour and pour into muslin, allowing to drip through. Keep juice!
Combine juices and measure.
Bring to boil on hob then stir in sugar using 1lb granulated sugar to 1 pint liquid/juice (full quantity will make around 4 pints of juice)
Then boil briskly for around 30 mins til set. To test if set, put wooden spoon in and allow to drop on a clean plate. Allow to cool (5 mins) to test whether it wrinkles when pushing with a spoon. Should take jam off heat while testing to ensure it doesn’t get too solid!
Pour into sterilised jars (full quantity will make around 8 jars) –
  • Wash your jars and the lids in hot soapy water, but do not dry them. Instead, leave them to stand upside down on a roasting tray while they’re still wet.
  • Pop the tray of clean, wet jars and lids in to a preheated oven at 160-180ºC for about 15 mins.
  • Ladle the hot preserve into a heatproof jug to make it easier to transfer the mixture into the hot jars. Be very careful not to touch or get any of the mixture onto the rim of the jars as this could introduce bacteria.
  • Ideally you want to fill the jars not quite to the top, leave about 1/4 inch (1/2 cm) gap at the top between the preserve and the lid.
  • While everything is still hot, cover the jars with their lids or top with wax paper and a piece of cellophane secured tightly with an elastic band.
  • Once in sterilised jars like this your preserves should keep for about 6 months in a cool, dark place, but do check the recipe you’re using for a more accurate shelf life as some preserves will last longer than others.

0
comments